Overview
Bus Tracking in ARGUS lets you view your school bus trip on a live map and check key trip details like the bus number, ETA, and pickup/drop location. You can access it anytime from the More menu.
What You’ll Learn
- How to open Bus Tracking in ARGUS
- What you’ll see when the trip is active vs not active
- How to read the bus tracking screen (ETA, bus details, trip timings)
Who Can Use This
- Parents and Students (both can access Bus Tracking)
- Available for K-12 + Pre-K users (based on school transport setup)
Before You Begin
- Make sure you are logged in to the ARGUS mobile app.
- Bus Tracking works only when your school transport is active for your profile.
Steps to Track the School Bus in ARGUS
Step 1: Open More
- Open the ARGUS app.
- Tap More (bottom navigation).
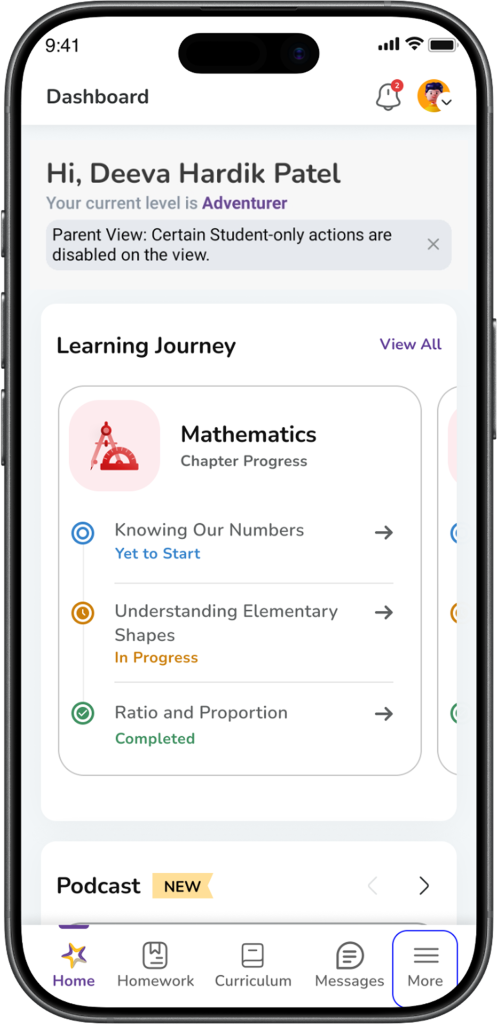
Expected Result: You’ll see a list of modules under More.
Step 2: Tap Bus Tracking
- Tap Bus Tracking
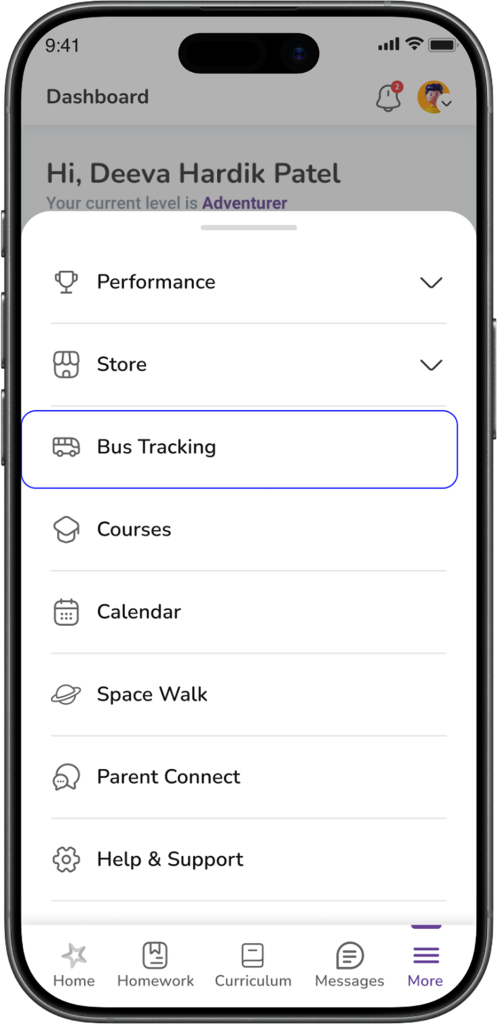
Expected Result: Bus Tracking screen opens. Now there are two possible scenarios:
Scenario A: Trip is NOT active (bus is not running right now)
If the bus trip has not started (or the trip is already completed), you may see a pop-up message:
Smart Bus
“Tracking is available only during the active trip”
- Tap OK
Expected Result: You can close the message and check again later when the trip is active.
Tip: Tracking usually works during school pickup/drop trip times.
Scenario B: Trip is active (bus is running)
When the trip is active, you will see the live tracking screen.
Step 3: View the live map
- On the map, you will see the bus icon moving on the route.
- The bus location updates as the bus moves.
Expected Result: You can track where the bus is currently and how it is moving on the route.
Step 4: Check ETA and trip details (bottom panel)
At the bottom of the screen, you will see details like:
- Estimated Time of Arrival (ETA) (example: “In 29m 18s”)
- Bus number / registration number (example: MH03CP9784)
- Bus Current in Location (example: Airoli Abhyudaya Bank, Airoli)
- Attendant name and contact number (person responsible for students in the bus)
Expected Result: You can quickly understand how long the bus will take and which bus/route is assigned.
Step 5: Expand for more details
If you slide the bottom panel up (expand it), you can see more information such as:
- Estimated Start time
- Actual Start time
- Trip route/stops details (as shown in the screen)
- Estimated End and Actual End (when the trip completes)
Expected Result: You can see a clearer summary of trip timings and start/end status.
Helpful buttons on the tracking screen (Quick guide)
On the map screen, you may see icons such as:
- Layers (to change map view)
- Home (to jump back to main route view)
- Share/Arrow (for map actions)
- Target/Locate (to centre/locate on map)
(Exact behaviour may vary slightly by device.)